How do I use Path And Node option?
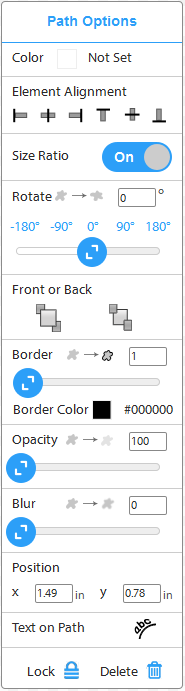
Path Option

Click on path option to draw the path of any shape.
Now , select the shape on canvas that you created using path option. This will open the path option on canvas which can be used for editing the path.
Following are the path option available:
Color and Stroke
Fill Color
 Fill color inside path
Use this option to fill the color inside the path
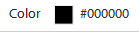
Stroke Color
 Change stroke/outline color
Use this option to change stroke / outline color of path.
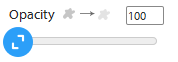
Change Opacity
 Change opacity of path
Use this option to change opacity of path. 100 means path is completely opaque, 0 means it is transparent.
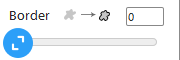
Stroke Width
 Change stroke/outline width
You can change the stroke width by this option. Click on the text box, type the new width and press enter – stroke width of object will be changed. Alternatively, you can click on up-down arrows to increase / decrease stroke width in steps.
Alignment
Left, Centre, Right Alignment
 Align object to left
 Align object centre
 Align object right
Clicking on this option aligns the object to left, centre, or right of page (horizontally).
Top, Middle, Bottom Alignment
 Align object to top
 Align object middle vertically
 Align object to bottom
Clicking on this option aligns the object to top, middle, bottom of page (vertically).
Bring to Front
 Bring the selected objects in front of all other objects
Use this option to bring the selected object in front of every other object on canvas.
Send to Back
 Send the selected object behind all other objects
Use this option to send the selected object behind every other object on canvas.
Effects
Blur
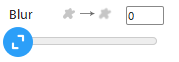 Change Gaussian blur value
You can change the Gaussian blur value of selected object using this option. Click on the text box of blur value, type the new value and press enter – blur value of object will be changed. Alternatively, you can click on up-down arrows to increase / decrease blur value in steps.
Advanced
Rotation Angle
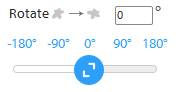 Rotate object
You can change the rotation angle of selected object using this option. Click on the text box of rotation angle, type the new value and press enter – object will be rotated with the specified angle. Alternatively, you can click on up-down arrows to increase / decrease rotation angle in steps.
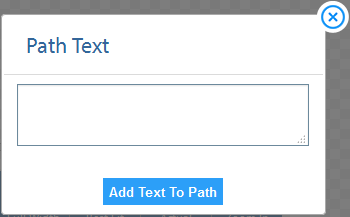
Text to Path
 Put Text on path
Click on this button to insert text on the path you created.
X, Y Coordinates [Text Position]
 Set X coordinates for top left corner of text Set Y coordinates for top left corner of text
X and Y coordinates determine the position of text on canvas. X and Y specify x and y coordinate of top left corner of text box. Click on the text box of any of X or Y, type the new value and press enter – top left corner of text selection box will be shifted to (x,y) position. Alternatively, you can click on up-down arrows to increase / decrease X, Y values in steps.
Lock or Delete
Lock Object
 Lock object for editing
Use this option if you want to lock any object for editing. The locked object cannot be changed; no characters can be added or deleted. All the editing options will be disabled, object cannot be moved or resized, and no editing will be possible.
Unlock Object
Unlock object for editingOnce you click on ‘Lock Object’ button, object is locked and this button changes to ‘Unlock Object’. Clicking on this button will unlock the object again for editing. The object can now be changed; characters can be added or deleted. All the editing options will be enabled, object can be moved or resized, and editing will be possible.
Delete
 Delete selected object
Clicking on this button will delete the object permanently.
Node Options
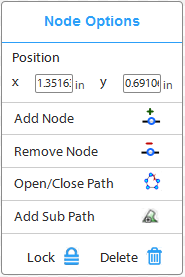
Once you convert an object to path and double click on that object, path options will open.
X, Y Coordinates [Text Position]
Set X coordinates for top left corner of text Set Y coordinates for top left corner of textX and Y coordinates determine the position of text on canvas. X and Y specify x and y coordinate of top left corner of text box. Click on the text box of any of X or Y, type the new value and press enter – top left corner of text selection box will be shifted to (x,y) position. Alternatively, you can click on up-down arrows to increase / decrease X, Y values in steps.
-
Add Node
Add node to shapeUse this option to add a new node between the selected pair of nodes.
-
Delete Node
Delete selected nodeUse this option to delete selected node from shape. Shape will be joined by the two nodes on either side of deleted node.
-
Delete Path
Open selected pathUse this option to open path joining the selected nodes from shape.
-
Join Nodes
Join path for open nodesClicking on this option adds the open nodes, and creates a path joining them.
-
Subpath
Add sub-path to selected pathUse this option to add a sub-path to selected path. You can draw the new path at any place on canvas, it will be attached to the main path, all the operations, like, move, delete, resize, change color, etc, will be applied on both together.