How to Manage Fonts in Pixopa?
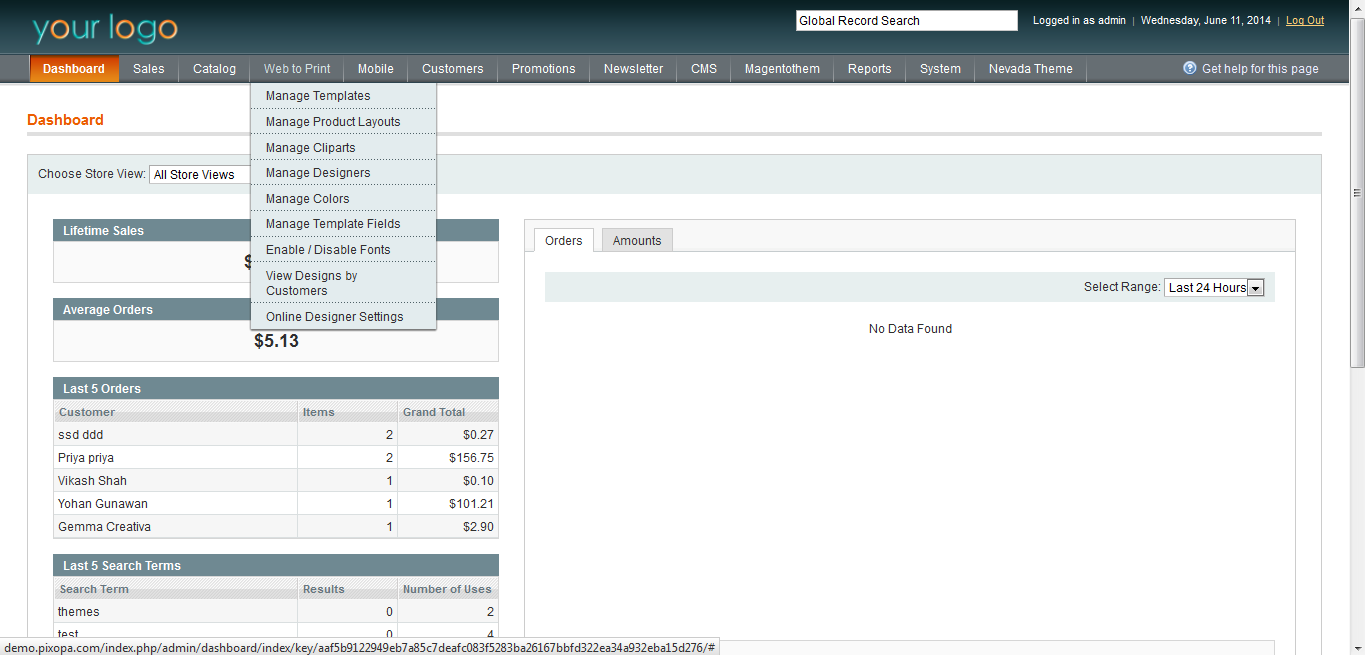
Font details can be accessed by selecting Enable/Disable Fonts option in Web to Print Menu.
The Template Field Manager page opens with template fields’ details under following headings:
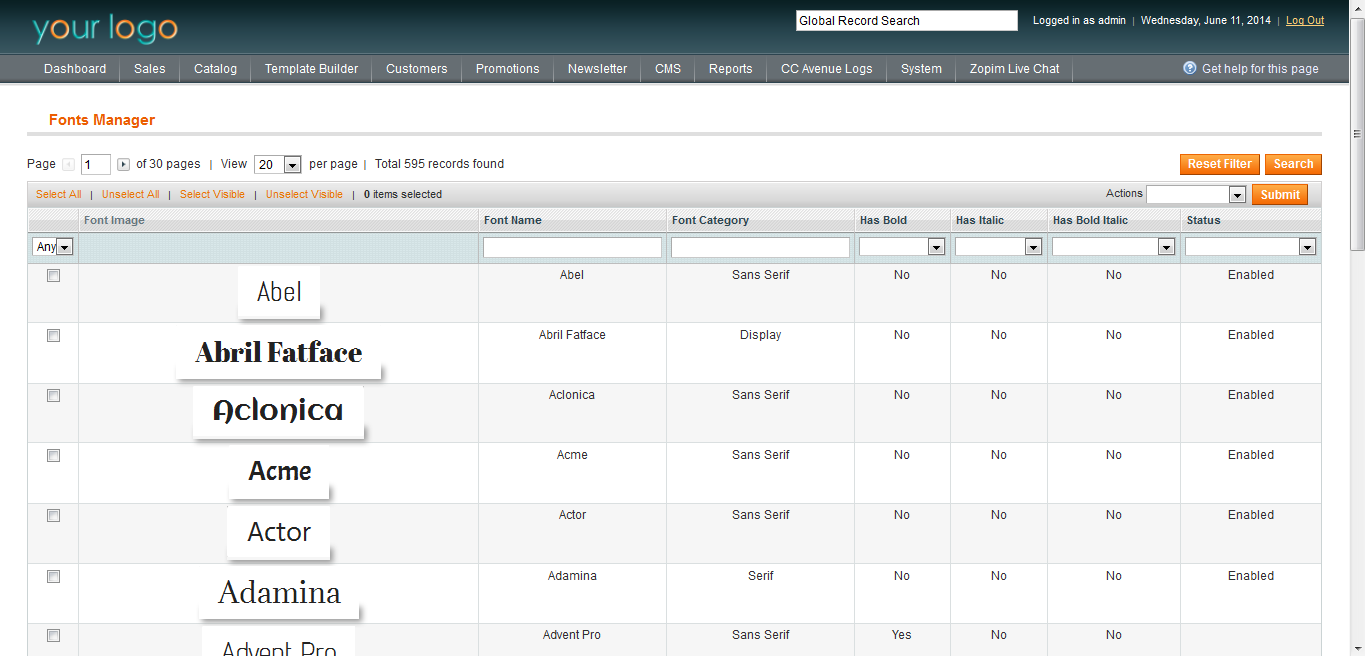
Font Image
Font Name
Font Category
Has Bold
Has Italic
Has Bold Italic
Status
To Add Fonts in Pixopa
To Enable/Disable Fonts in Pixopa click on Enable/Disable Fonts new page opens with following fields:
Font image: The image of the font display in this area.
Font Name: Enter the name of the font in this field.
Font Category: Enter the name of the Font Category in this field.
Has Bold: Select ‘Yes’ if font has bold option else select ‘No’.
Has Italic: Select ‘Yes’ if font has Italic option else select ‘No’.
Has Bold Italic: Select ‘Yes’ if font has Bold Italic option else select ‘No’.
Status: Select ‘Enabled” to enable font or select “Disabled” to disable the font.
To Enable Font
For Enabling the Font click on dropdown in Status field and select “Enabled” option to make the font Enable. Just select and change the status of the Font.
To Disable Font
For Disabling the Font click on dropdown in Status field and select “Disabled” option to make the font Disable. Just select and change the status of the Font.